Step by Step Tree House Photos - Modern Tree House

Modern Tree House
- Step by Step photos-
See more designs at hand made things at www.LittleWeeShop.etsy.com


My husband and I wanted a tree house that would grow with our children;
Our son who is 4 and our daughter who is 2.
I pictured playing restaurant now and having sleep overs and reading nooks in their teens. The result of my husband's efforts are below.
We saw a small pre-made crooked house at our local hardware store for $2,900. I knew we could do better and for less - and that we did. Our total budget came in around $1600 including the deck although we still need to add paint and stain.
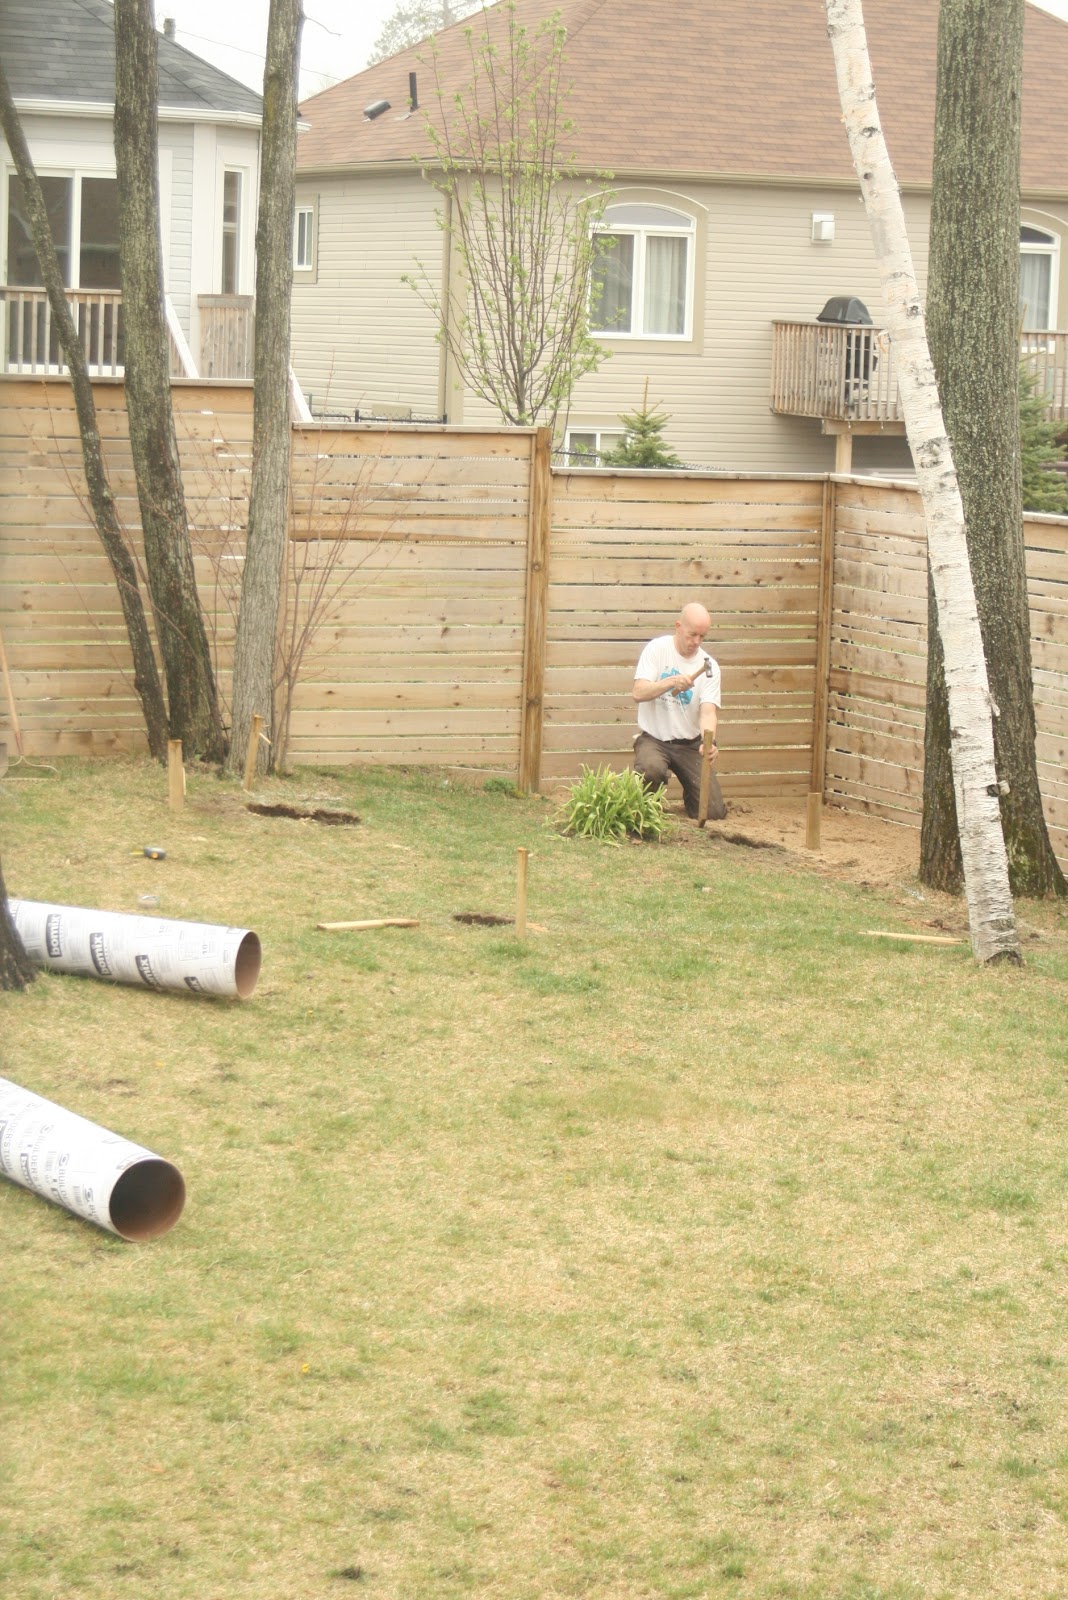


The Material Arrives.....

My husband and son test out the floor

Originally we had planned for a full two stories then once we realized just how big it was going to be we revised it to a loft.

Taking shape, complete with crooked window There is also a thin window we placed on the back wall that was installed horizontally in addition to another side window.

Windows and doors added. All windows/doors were salvaged from the Habitat for Humanity which greatly reduced the cost. the brown door we actually trimmed to act as another window. The shutters were a perfect find and open up wide to allow for a nice breeze and to play store/restaurant games.

The kids help water some of the new landscaping. All of which I purchased at the year end clearance for 50% off. I selected plants that would attract butterfly's and birds and act as a sensory garden including soft pussy willows and bright flowering plants like Blacked eyed Susans that will come up again year after year.

The Tin roof is added. We opted for tin as it actually reflects heat making it cooler inside - although any time a acorn falls from our Oaks we hear a PING! My husband also adds a pergola detail to the opposite side of the deck to add some balance. Board and batten was used for the swinging front doors also to reduce cost but ended up adding pretty barn like detail.

The kids enjoying their freezes on the deck.

Our daughter playing restaurant.

My husband taking a much needed break on the deck. Here you can also see the Pergola accent that was added.

My husband found this old rope to give a bit of a ship feel, it was covered in moss - he simply stripped it off with a knife and it came out good as new. Here too is a view from the inside crooked window.
Here is it! Almost complete. We just purchased some Daisy yellow paint for the exterior walls and some grey/turquoise for the right door. We still have some trim to add around the windows some roofing to the front overhang and the inside to decorate... stay tunned...


Comments
Post a Comment